Is your blurry camera lens giving you a headache and ruining your shots? Don’t fret; we’ve got you covered.
This guide is your one-stop shop to understanding why your lens is causing those blurry photos and how to fix it.
We’re diving into types of lens blur, common causes, preventive measures, and actionable solutions. Stick around to clear the fog—literally!
Understanding Blurry Camera Lenses
So, what exactly is lens blur? It’s not a one-size-fits-all term, and it’s crucial to pinpoint the type of blur you’re dealing with. Let’s break it down:
Types of Lens Blur
- Bokeh: The darling of portrait photographers! Bokeh gives you that creamy, dreamy background, making your subject stand out.
- Motion Blur: This one’s a sneaky culprit. Is your subject moving? Are you? Motion blur occurs when either the camera or the subject is on the go during the shot.
- Out-of-Focus Blur: This is the bad guy in the blur universe. Your subject looks like a blurry mess, and no amount of squinting will bring it into focus.
Understanding the type of blur you’re facing is the first step in troubleshooting. Now that you’re armed with this knowledge, let’s explore into why camera lenses get blurry in the first place.
Why Do Camera Lenses Get Blurry?
Before you go blaming your lens, let’s understand what’s really happening. Lenses can get blurry for a handful of reasons:
- Environmental Causes Dust: Tiny particles can cling to your lens, creating a layer that messes with your focus.
- Moisture: Humidity or condensation can fog up the lens.
- Temperature: Extreme heat or cold can affect lens performance.
Each of these factors can contribute to lens blur, but they’re often manageable. For instance, dust can usually be cleaned off.
Is the Lens Really the Culprit?
So, you’ve checked for dust, moisture, and extreme temperatures. But what if your lens is still blurry? Could the problem lie elsewhere? Absolutely.
- Camera vs. Lens Camera Settings: Sometimes, it’s not the lens but the settings on your camera that are off. Wrong aperture? Shutter speed issues? These can all result in a blurry photo.
- User Error: Yep, we all make mistakes. Holding the camera improperly or misusing the focus can lead to unwanted blur.
- Other Equipment: Using a damaged filter or incompatible accessories could also be the reason behind the blur.
Pinpointing whether your lens or some other factor is causing the blur can save you both time and money.
Quick Checks for a Blurry Lens
Before diving into in-depth solutions, let’s do some quick checks. These steps help you figure out if your lens needs a deep dive or just a quick fix.
Visual Inspection
- Check for Obstructions: Is there anything blocking the lens? A smudge, perhaps?
- Lens Surface: Look for scratches or haze.
- Focus Ring: Does it move smoothly? Or is it stuck?
- Lens Elements: Any signs of fungus or moisture inside?
If any of these issues exist, you’ve got a lead on why your photos are turning out blurry.
Testing for Lens Sharpness
Okay, so you’ve done the quick checks and everything looks good—or so it seems. But how can you be sure your lens is as sharp as it should be?
Methods and Tools
Here are some common methods to test your lens’ sharpness:
- Chart Testing: Use a focus chart to evaluate sharpness.
- Wall Test: Shoot a textured wall from a fixed distance.
- Real-world Subjects: Photograph familiar subjects and compare results.
| Method | Required Tools | Pros | Cons |
|---|---|---|---|
| Chart Testing | Focus chart, tripod | Accurate | Time-consuming |
| Wall Test | Camera only | Quick | Less accurate |
| Real-world | Camera only | Practical | Variable results |
Choosing the right method depends on the resources you have and how precise you want to be. A wall test is quick but may not give you the data that a focus chart can.
On the flip side, chart testing could be overkill if the issue is minor. Weigh your options and proceed accordingly.
Cleaning a Blurry Lens
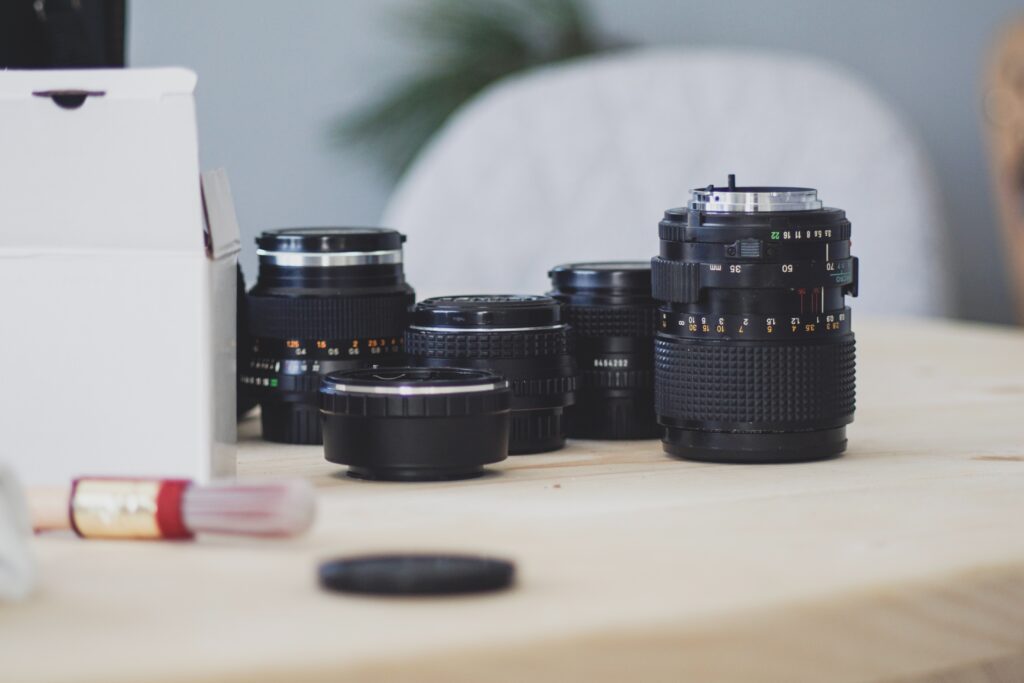
Alright, so you’ve identified that your lens could use a good cleaning. No worries, you’re not alone; even the pros need to do this regularly.
DIY Cleaning
- Use a Lens Blower: Always start by using a lens blower to remove loose dust and particles. This one on Amazon is a fantastic option. It has it’s own HEPA filter, safe for electronics and is even approved by NASA!
- Lens Cleaning Solution: Apply a few drops on a lens cleaning cloth, never directly onto the lens.
- Circular Motion: Gently wipe the lens in a circular motion, starting from the center and moving outward.
- Dry Wipe: Use a dry section of the cloth to remove any streaks or residue.
And voila! Your lens should be cleaner and ready for action.
When to Consult a Professional
Now, you’ve tried the DIY approach, but something still isn’t right. Or maybe you’ve noticed something that you just can’t fix at home. When should you take your lens to a pro?
Signs and Situations
- Internal Dust or Fungus: If it’s inside the lens, don’t attempt to open it up yourself unless you have experience of doing it before.
- Mechanical Failures: Is the focus ring stuck? Does the lens make a grinding noise?
- Optical Issues: Seeing weird flares or ghosting that cleaning doesn’t solve?
If you find yourself nodding to any of these, it’s time to consult a professional. Sometimes, a blurry lens needs more than a DIY fix.
Can the Lens be Fixed?
You’re on the fence—should you try to fix this lens or is it time for a new one? Good question. The answer often depends on a few key factors.
Repair vs. Replace
- Extent of Damage: Minor issues like dust or small scratches are often fixable. Major damage? Maybe not.
- Age of the Lens: Older lenses might not be worth the repair cost. Newer lenses? Think twice before tossing them.
- Warranty: If your lens is under warranty, repair is often the smarter route.
- Sentimental Value: Sometimes it’s not about the money; it’s about the memories associated with the lens.
Evaluating these aspects can help you make an informed decision. For more insights, you might find our article on Can You Fix a Camera Lens? helpful.
Cost of Repair
So you’ve decided to go for the repair. But wait, how much is this going to set you back?
Professional Services
The cost varies based on several factors, and here’s a ballpark range:
| Type of Repair | Estimated Cost |
|---|---|
| Cleaning & Calibration | $50 – $100 |
| Mechanical Repairs | $100 – $300 |
| Optical Repairs | $200 – $500 |
Remember, these are just estimates. The actual cost can vary based on the brand, extent of damage, and the reputation of the repair service. Always get a quote before proceeding with any repair work.
Deciding whether to repair or replace often comes down to cost versus value. By weighing the estimated repair costs against the value (both monetary and sentimental) of the lens, you can make a decision that makes sense for you.
Preventing Lens Blur
You’ve tackled the issue, but let’s make sure you don’t have to go through this again. Prevention is always better than cure, right?
Storage Tips
- Lens Caps: Always put the lens cap back on. It’s a simple step that offers great protection.
- Dry Environment: Store your lens in a place with low humidity to prevent moisture build-up.
- Regular Cleaning: Make it a habit to clean your lens after each use, especially if you’ve been shooting in challenging environments.
For more on this, you’ll find valuable tips in our article on How to Store Camera Lenses Properly.
Lens Protectors: Yay or Nay?
The debate rages on—should you use lens protectors? These are essentially filters that act as a shield for your lens.
| Aspect | Pros | Cons |
|---|---|---|
| Protection | Shields against scratches and minor bumps. | Another layer of glass could affect image quality. |
| Cost | Easy to replace if damaged. | Extra expense for high-quality protectors. |
If you frequently shoot in rugged conditions, a lens protector might be a wise investment. On the flip side, if you’re mostly in controlled environments, you might decide it’s not necessary.
For a deeper look into this, explore our article on Are Camera Lens Protectors Necessary?
Common Mistakes Leading to Lens Blur
Even the best of us can make mistakes that lead to lens blur. Awareness is the first step to prevention.
What Not to Do
- Ignoring Lens Maintenance: Neglecting regular cleaning can lead to gradual degradation.
- Using Wrong Settings: Incorrect aperture or shutter speed can result in unwanted blur.
- Overlooking Firmware Updates: Outdated lens firmware may affect performance.
By being mindful of these pitfalls, you can significantly reduce the chances of encountering lens blur.
Impact of Lens Blur in Different Photography Types
Lens blur doesn’t discriminate; it can sneak into any photography genre. However, the impact varies based on what you’re shooting.
Portrait vs. Landscape
- Portrait Photography: Lens blur can either be a blessing (hello, bokeh!) or a curse (goodbye, sharp features).
- Landscape Photography: Here, lens blur is often less forgiving. A blurry horizon or fuzzy details can ruin the shot.
In genres like macro photography or sports photography, lens blur can be the difference between a stellar shot and a complete miss. Knowing your genre and how lens blur affects it can guide you in choosing the right settings and equipment.
Using Software to Fix Lens Blur
So your shots turned out blurry, but all is not lost! Post-processing software can sometimes save the day.
Post-Processing Tools
- Sharpening Tools: Software like Adobe Photoshop offers sharpening filters that can bring out details.
- Deblur Algorithms: Some specialized software focus solely on fixing blur.
- Noise Reduction: Use sparingly to maintain image quality.
While software can provide a quick fix, remember it’s not a substitute for proper shooting techniques. Consider it your safety net, not your go-to solution.
Related Equipment That Can Help
Beyond your camera and lens, other gear can also help you minimize blur. Let’s see what can aid you in your quest for sharper photos.
Tripods and Stabilizers
| Equipment | Use-Case | Benefits |
|---|---|---|
| Tripod | Long-exposure, landscapes, and portraits | Adds stability, allows for slower shutter speeds without blur |
| Gimbal | Video and action photography | Stabilizes movement, reduces hand shake |
| Monopod | Sports and wildlife photography | Easier to maneuver, offers some stabilization |
Tripods are great for static shots, while gimbals or monopods are more suited for dynamic situations. Using these tools can substantially reduce the risk of lens blur, giving you crisp, clear shots every time.
Best Practices Summary
Let’s wrap it up with some best practices to keep your lens and photos sharp.
- Regular Cleaning: Make it a habit; your lens will thank you.
- Check Settings: Before shooting, double-check your camera settings.
- Use Support: Tripods or stabilizers can be game-changers.
- Software Sparingly: Use post-processing as a backup, not a primary solution.
By sticking to these practices, you’re well on your way to saying goodbye to lens blur and capturing those crystal-clear shots.
Conclusion
Lens blur is a common issue, but it’s far from unbeatable. With the right knowledge and tools, you can troubleshoot and solve most blur problems yourself.
And for those situations that do require a pro, at least you’ll go in informed. Remember, prevention is key. Keep your lens clean, know your settings, and be mindful of your shooting environment.
Additional Resources
Looking to dive deeper into the world of photography and lens care? Here are some resources to consider:
- Books: “Understanding Exposure” by Bryan Peterson offers great insights into getting your settings right.
- Courses: Websites like Udemy and Coursera offer photography courses that cover lens care and use.
- YouTube: Channels like Peter McKinnon offer quick and practical photography tips.
Armed with these resources, you’re well-equipped to tackle any lens challenges that come your way. Keep learning, keep shooting!




![Read more about the article What Camera Lens Do I Need? A Comprehensive Guide for Beginners [2023]](https://photographyexplorer.com/wp-content/uploads/2023/08/what-camera-lens-do-I-need-300x200.jpg)
