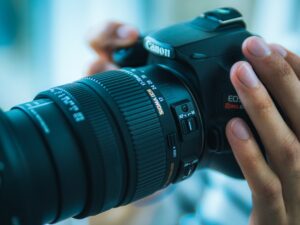
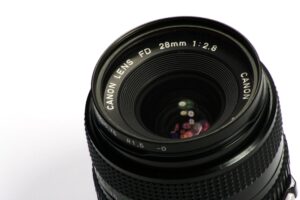
What is a macro lens used for? Macro lenses are your go-to for capturing close-up, detailed shots of small wonders like insects, flowers, and intricate textures. Stay with me to unravel the hows, the whens, and the wow factors that make macro lenses a photographer’s best friend.
Why You Should Keep Reading:
- You’re a beginner craving close-ups.
- You’re a hobbyist hunting for that perfect shot.
- You’re curious about what sets macro lenses apart.
| Key Points | Quick Summary |
|---|---|
| What It’s For | Capturing close-up, detailed shots of small subjects like insects, flowers, and tiny objects. |
| Unique Features | High magnification, short minimum focus distance, and shallow depth of field. |
| When to Use | Ideal for detailed, artistic photos and scientific documentation. |
| Limitations | Not great for subjects that need a large depth of field or are far away. |
| Cost | Ranges from budget-friendly to high-end, with a trade-off in features and quality. |
| Mobile & Video Adaptation | Can be adapted for smartphone use with lens adapters; also useful for detailed video shooting. |
| Care & Maintenance | Regular cleaning and proper storage extend lens lifespan. |
What Is a Macro Lens?
Let’s break it down. A macro lens is specialized for snapping shots of subjects up close and personal. Unlike standard lenses, macro lenses let you focus on tiny objects while maintaining superb image quality.
| Standard Lens | Macro Lens |
|---|---|
| Good for a range of distances | Excelling in close-up shots |
| Limited magnification | Higher magnification for detail |
| Versatile but not specialized | Engineered for precision |
Why Choose a Macro Lens?
So, why go macro? The answer is clear: unparalleled detail. Ever wanted to see the dewdrops on a spider’s web or the tiny veins in a leaf? A macro lens makes it happen.
Unique Features of a Macro Lens
- High Magnification: Capture subjects larger than life.
- Narrow Depth of Field: Focus on your subject while blurring the background.
- Sharp Image Quality: Say goodbye to pixelated close-ups.
- Creative Control: Get artsy with composition and framing.
Types of Macro Lenses
When it comes to macro lenses, you’ve got choices. Let’s talk about the two main types: Fixed Focal Length and Variable Focal Length.
Fixed Focal Length
- What it is: A lens with a set distance, like 50mm or 100mm.
- Best for: Precise, specialized shots where you control the distance.
- Example: Capturing a stationary subject like a flower or a ring.
Variable Focal Length
- What it is: A lens that can zoom, like a 70-300mm lens.
- Best for: Versatility! Go from close-ups to zoomed-out shots with ease.
- Example: Snapping both a butterfly and the garden it’s in, without swapping lenses.
| Fixed Focal Length | Variable Focal Length |
|---|---|
| No zoom | Zoom capability |
| Specific use | Versatile |
| Higher image quality | Good, but not as sharp |
| Usually pricier | More budget-friendly |
The Numbers Game: Understanding Macro Lens Specifications
Numbers aren’t just for mathematicians; they’re for photographers too! Especially when you’re dealing with macro lenses. Here are some key terms you’ll bump into:
Magnification Ratio
- What it is: The size of the subject on the camera sensor compared to its real size.
- Example: A 1:1 ratio means the subject appears life-size on the sensor.
Focal Length
- What it is: The distance between the lens and the sensor, measured in millimeters.
- Example: A 100mm macro lens will let you shoot from farther away than a 50mm lens.
| Term | What it Means |
|---|---|
| Magnification Ratio | Size of subject on sensor vs real size |
| Focal Length | Distance from lens to sensor (in mm) |
For a deeper dive into lens numbers, you won’t want to miss our comprehensive guide on How Do Camera Lenses Work?.
How Does a Macro Lens Work?
You’ve got the lens, but how does it do its magic? Macro lenses have specialized elements and technology that allow them to focus closely and magnify your subject.
The Tech Behind the Lens
- Closer Minimum Focusing Distance: Unlike regular lenses, macro lenses can focus at a much shorter distance from the subject.
- Optical Elements: Specialized glass elements reduce distortions and improve sharpness.
- Internal Focusing (IF): Some macro lenses adjust focus without changing their length, keeping your setup compact.
| Tech Component | Role in Macro Photography |
|---|---|
| Minimum Focusing Distance | Allows for closer shots |
| Optical Elements | Improved clarity and reduced distortion |
| Internal Focusing | Keeps lens size constant during focus |
For a full understanding of lens technology, check out our detailed article on How Do Camera Lenses Work?.

When to Use a Macro Lens
You don’t whip out a hammer for a paint job. Same goes for lenses. So, when should you opt for a macro lens?
Best Subjects for Macro Photography
- Flora: From petals to pollen, capture nature’s tiniest details.
- Fauna: Insects, spider webs, or the eye of a frog—get up close and personal.
- Still Life: Coins, stamps, or jewelry, make the inanimate come alive.
- Textures: Capture the intricate details of surfaces like fabric, wood, or skin.
Ideal Conditions
- Good Lighting: Macro photography often requires more light for higher f-stops.
- Stable Environment: Windless days are best for outdoor macro shots.
- Controlled Indoors: For product or still life photography, a controlled indoor setting works wonders.
| Best Conditions | Why It Matters |
|---|---|
| Good Lighting | Ensures clarity and detail |
| Stable Environment | Keeps your close-up subjects still |
| Controlled Indoors | Allows for meticulous setup |
Setting Up for Macro Shots
Okay, you’ve got your macro lens. You’ve picked your subject. What’s next? Setting up your camera to make the most out of your macro photography session. Let’s dig into the settings and tips that’ll set you up for success.
Camera Settings
- Aperture: Use a smaller aperture (higher f-number) for a larger depth of field. This keeps more of your subject in focus.
- Shutter Speed: A faster shutter speed will help freeze motion. Useful when you’re capturing jittery bugs or swaying flowers.
- ISO: Keep it low to reduce noise, especially since macro shots are all about the details.
Tips for Success
- Use a Tripod: Stability is key. A tripod can make or break your shot.
- Manual Focus: Auto-focus can be unreliable in macro photography. Going manual gives you total control.
- Check Your Background: A busy background can distract from your subject. Aim for simplicity.
| Setting | Recommended Value | Purpose |
|---|---|---|
| Aperture | Higher f-number | Larger depth of field |
| Shutter Speed | Faster | Freeze motion |
| ISO | Low | Reduce noise |
Creative Applications
Bugs and flowers are the usual suspects in macro photography, but let’s think outside the box. Or rather, let’s zoom into it.
Unexpected Subjects
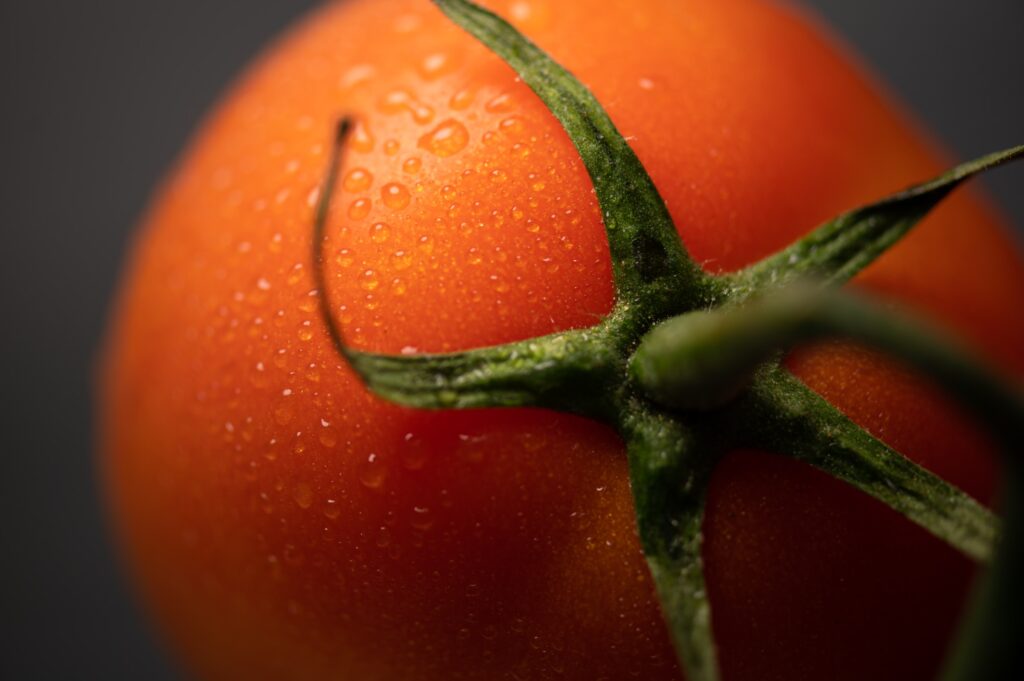
- Food Photography: Ever noticed the texture on a strawberry or the bubbles in a soda? A macro lens brings out the delicious details.
- Portraiture: Capture facial features like eyes or lips in stunning detail. Just be prepared for extreme close-ups!
- Art & Crafts: Whether it’s the stroke of a brush on canvas or the intricacy of a knitted pattern, a macro lens can make it stand out.
- Industrial & Mechanical: The screws, gears, and textures in machinery offer a playground for macro photography.
Why Go Creative?
Diversifying your subjects not only makes your portfolio more interesting but also challenges you to adapt and grow as a photographer.
| Creative Applications | Why It’s Cool |
|---|---|
| Food Photography | Highlights textures and colors |
| Portraiture | Captures intimate details |
| Art & Crafts | Showcases intricacy and craftsmanship |
| Industrial & Mechanical | Offers a unique perspective |
Limitations of Macro Lenses
As much as we’d like to think otherwise, macro lenses aren’t a cure-all. They excel at close-up photography but have limitations that could make them less suitable for other types of shots.
What Macro Lenses Aren’t Great For
- Wide-Angle Shots: These lenses are not designed for capturing expansive landscapes or large groups of people.
- Sports Photography: The close focusing abilities aren’t conducive to capturing fast-moving subjects at a distance.
- Low Light Conditions: Due to the need for smaller apertures for greater depth of field, macro lenses often require good lighting.
Consider This
Before you jump in, remember that while macro lenses are versatile, they’re not jacks-of-all-trades. You’ll still need other types of lenses to cover a wider range of photography styles.
| Limitation | Why It Matters |
|---|---|
| Wide-Angle Shots | Not suitable for capturing large scenes |
| Sports Photography | Not ideal for distant, fast-moving subjects |
| Low Light Conditions | Requires good lighting for optimal performance |
Cost Factor
Let’s talk money. Macro lenses come in a range of prices, and what you invest in one depends on your needs and budget.
Budget-Friendly Options
- Third-Party Lenses: Brands like Tamron and Sigma offer macro lenses that are often less expensive than those from camera manufacturers.
- Older Models: You can save some bucks by opting for an older lens model that still performs well.
High-Quality Investment
- Brand Lenses: If you’re looking for top-notch quality, lenses from your camera’s manufacturer usually offer the best compatibility and performance.
- Advanced Features: High-end macro lenses come with added features like image stabilization and weather sealing.
| Cost Category | What to Expect |
|---|---|
| Budget-Friendly | Good performance but may lack some advanced features |
| High-Quality | Superior performance and additional features, but at a higher cost |
How to Check Quality of a Macro Lens
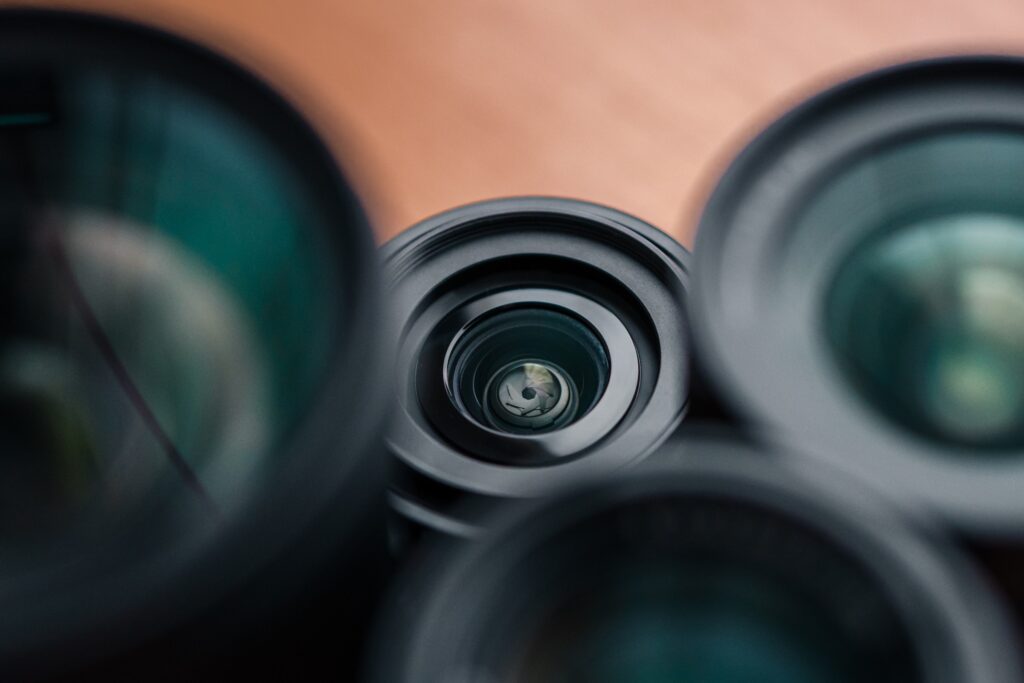
So, you’re ready to buy a macro lens. But how do you know you’re getting a good one? Quality matters, especially when you’re investing in something as crucial as a lens for specialized photography.
Things to Consider
- Sharpness: Look for lenses that offer clear, crisp images without any fuzziness.
- Chromatic Aberration: Lesser quality lenses may produce colored fringes around your subject.
- Build Quality: A well-constructed lens will not only perform better but also last longer.
Testing the Lens
- In-Store Testing: If possible, try before you buy. Take some test shots in the store.
- Online Reviews: When shopping online, reviews are your best friends. Look for thorough assessments from reputable sources.
- Professional Insights: Websites and blogs often do detailed lens reviews, providing sample photos and technical evaluations.
For a more detailed guide on how to check the quality of a lens, you can visit our article on How to Check Camera Lens Quality.
Focusing Techniques
Nailing the focus is pivotal in macro photography. A slight miss and your spectacular shot could turn into a blurry mess. Let’s talk about the two main focusing methods: manual and auto.
Manual Focus
- Control: You decide what’s in focus, allowing for pinpoint accuracy.
- Flexibility: Great for subjects that are difficult for the autofocus system to lock onto, like translucent objects.
Auto Focus
- Convenience: Quick and easy, especially for subjects that aren’t moving.
- Technology: Some modern lenses have advanced autofocus systems that are quite reliable for macro photography.
| Focusing Method | Pros | Cons |
|---|---|---|
| Manual Focus | Full control, more flexible | Requires a steady hand |
| Auto Focus | Quick and convenient | May struggle with some subjects |
Depth of Field in Macro Photography
Depth of Field (DOF) is like the stage where your photographic drama unfolds. In macro photography, managing DOF is crucial because even a tiny shift can throw your subject out of focus. So, how do you handle it for better shots?
Understanding DOF in Macro Shots
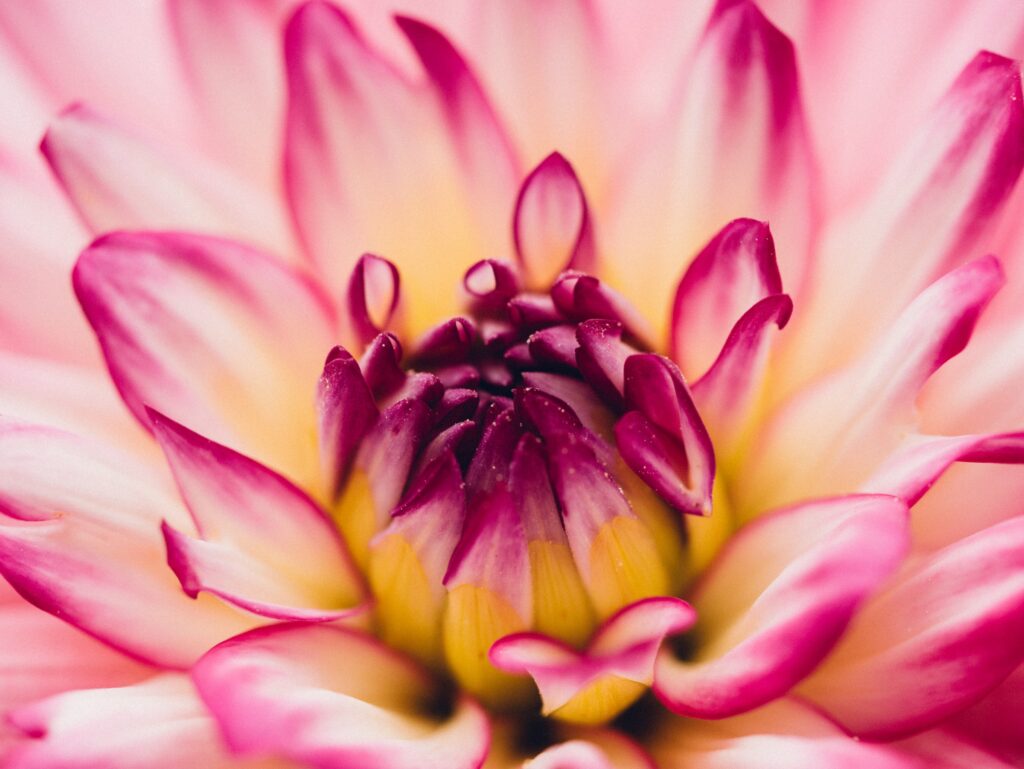
In macro photography, the depth of field is often very shallow. This means only a small portion of your subject will be in focus, while the rest fades into a blur. This can be both a blessing and a curse. On one hand, a shallow DOF can isolate your subject beautifully, but on the other, it can make important details fuzzy.
How to Manage DOF
- Aperture Control: A smaller aperture (higher f-number) will give you a larger depth of field. But remember, smaller apertures often require more light.
- Distance: The closer you are to your subject, the shallower your depth of field will be. Sometimes stepping back just a bit can bring more of your subject into focus.
- Focusing Point: Choose your focus point carefully. In a shallow DOF, this will be the most prominent part of your image.
Bokeh and Macro Lenses
Bokeh is the aesthetic quality of the out-of-focus areas in your photograph. In macro photography, bokeh can add a dreamy, artistic touch to your images. But what makes a macro lens good for achieving stunning bokeh?
Characteristics for Good Bokeh
- Lens Aperture: Lenses with larger maximum apertures (like f/2.8) generally produce better bokeh.
- Lens Quality: Higher-quality lenses have optical elements that contribute to smoother, creamier bokeh.
- Distance: The distance between your subject and the background can also impact the quality of bokeh. A greater distance will result in a more pronounced bokeh effect.
For a deep dive into the world of bokeh and lens characteristics, don’t miss our comprehensive article on What Makes a Lens Good for Bokeh?.
Stabilization Techniques
In the world of macro photography, even a slight tremor can turn your masterpiece into a blurry disappointment. Stabilization is not just an option; it’s a necessity. Let’s go through the most commonly used stabilization techniques.
Tripods
The tripod is the classic go-to for stabilization. It provides a rock-solid foundation, freeing you to focus on framing and focus. Especially when you’re shooting at slow shutter speeds or in low light conditions, a tripod is indispensable.
Monopods
While not as stable as tripods, monopods offer a good middle ground between stability and mobility. If you’re capturing subjects that require you to move around—like insects or flowers on a windy day—a monopod can be incredibly handy.
Handheld Methods
Sometimes, you just can’t lug around a tripod or even a monopod. For those instances, mastering handheld techniques is crucial. Bracing yourself against a solid object or even using your camera strap to create tension can provide a surprising amount of stability.
Common Mistakes and How to Avoid Them
Even seasoned photographers can stumble when venturing into the specialized realm of macro photography. Let’s tackle some common mistakes and how you can sidestep these pitfalls.
Ignoring the Background
One of the most frequent blunders is focusing so intently on the subject that the background is forgotten, which can result in distracting elements that take attention away from your subject.
How to Avoid: Always scan your frame to ensure the background complements your subject rather than competing with it.
Overcomplicating Composition
In the quest for a unique shot, it’s easy to overcomplicate things. Too many elements can make the image feel cluttered.
How to Avoid: Simplicity is often key in macro photography. Stick to one subject and let it shine.
Poor Lighting
Macro photography usually requires a lot of light, and not giving your subject adequate lighting can result in a lackluster image.
How to Avoid: Use external lights or reflectors to illuminate your subject, or choose to shoot at times when natural light is abundant.
Macro Lens Accessories
Macro photography is an art, and like any artist, you’ll want to have the best tools in your kit. While the macro lens is the star of the show, there are several accessories that can elevate your photography to the next level.
Extension Tubes
These are basically hollow tubes that you attach between your camera and lens. They increase the distance between your lens and sensor, allowing you to get even closer to your subject. It’s like adding a superpower to your macro lens!
Ring Lights
Lighting is paramount in macro photography, and ring lights are one of the best solutions. These circular lights fit around your lens, providing even, shadow-free illumination right where you need it.
Lens Hoods and Filters
Lens hoods can help prevent lens flare and increase contrast in your images. Filters, like polarizers, can also add creative effects or enhance colors in your macro shots.
Post-Processing Tips
Capturing the shot is only half the battle; post-processing plays an equally important role in macro photography. Even a near-perfect shot can benefit from some tweaking in post-production software like Adobe Lightroom or Photoshop.
Basic Editing Techniques
- Crop and Straighten: Sometimes, all a photo needs is a little cropping to eliminate distracting elements and focus more on the subject.
- Adjust Exposure and Contrast: Macro shots often reveal details that even the naked eye can’t see, but they also need well-balanced exposure and contrast to really pop.
- Color Correction: Given the close-up nature of macro photography, even slight color imbalances can become glaringly obvious. A quick adjustment can make all the difference.
- Sharpening: This can bring out the intricate details that make macro photography so fascinating.
Post-processing is not about manipulating reality but enhancing it. A subtle touch can add a professional finish to your photos, making them truly stand out.
Mobile Phone Macro Photography
No DSLR? No problem! The advent of mobile photography has made it easier than ever to dive into macro photography without heavy equipment. For smartphone users keen on capturing the small wonders around them, lens adapters are a game-changer.
Lens Adapters for Smartphones
These are lenses (like this best seller on Amazon) that you can attach to your smartphone’s camera. They come in various types, but the macro lens adapter is specifically designed to let you take close-up shots. Simply clip or mount the adapter onto your phone, and you’re ready to go.
Advantages and Limitations
- Advantages: They’re compact, relatively inexpensive, and extremely easy to use.
- Limitations: While these adapters can produce stunning results, they won’t match the quality and flexibility of a dedicated macro lens on a DSLR or mirrorless camera.
Shooting Video with Macro Lenses
Macro isn’t just for still photography; it has a whole realm of applications in videography as well. From nature documentaries showcasing insect life to product videos that highlight intricate details, macro lenses can add a unique perspective to your footage.
Tips for Videographers
- Stabilization is Key: Unlike photography, where a fast shutter speed can freeze motion, video requires sustained stability. A good tripod or even a specialized video rig can help.
- Manual Focus: Autofocus noise can be picked up by microphones and disrupt your video. Manual focus allows for smooth, silent operation.
- Plan Your Shots: Macro videography often involves moving subjects and shifting focus points. Planning your shots in advance can save you a lot of headaches in post-production.
Whether you’re using a professional camera or just your smartphone, the principles of macro photography and videography remain the same: attention to detail, stable setup, and the right equipment can make or break your shot.
Macro Lens Brands to Consider
Picking the right brand can be as important as picking the right lens. Brands vary in terms of quality, features, and price points. So which ones should be on your radar?
Top Brands
- Canon and Nikon: These industry giants offer a range of macro lenses known for their quality and reliability.
- Sony: If you’re in the mirrorless camera camp, Sony’s macro lenses are well-regarded for their sharpness and build quality.
- Sigma and Tamron: These third-party manufacturers offer quality macro lenses at a more budget-friendly price point.
What to Consider
- Compatibility: Make sure the lens fits your camera model.
- Features: Some brands offer additional features like image stabilization and weather-sealing.
- Budget: Price varies significantly across brands. Know what you’re willing to spend and what features are non-negotiable for you.
Buying Used Macro Lenses
New lenses are shiny and exciting, but they can also be expensive. Buying used is a viable option, especially if you’re new to macro photography and not ready to commit to a high-priced lens just yet.
Pros and Cons
- Pros: The obvious advantage is cost savings. You can often find high-quality lenses at a fraction of their original price.
- Cons: The risks include potential wear and tear, or even hidden defects. Warranty options may also be limited or non-existent.
Tips for Buying Used
- Inspect Thoroughly: If possible, physically inspect the lens for any signs of damage.
- Ask for Sample Photos: This can give you an idea of the lens’s performance.
- Check the Return Policy: Make sure you have the option to return the lens if it doesn’t meet your expectations.
For a more detailed analysis of whether buying used is right for you, check out our article Should I Buy Used Camera Lenses?.
Maintenance and Care
Investing in a macro lens is just the first step. Ensuring it stays in top condition for years to come is the ongoing journey. Proper maintenance and care can significantly extend the life of your lens and enhance its performance.
Cleaning the Lens
- Lens Cloth: Always use a microfiber lens cloth to wipe away dust or smudges. Avoid using tissues or your shirt, as they can scratch the lens.
- Lens Cleaning Solutions: Specialized lens cleaning solutions can help remove stubborn dirt and fingerprints.
Storage
- Lens Caps: Always put the front and rear lens caps on when the lens is not in use.
- Dry Box: Storing your lens in a dry box can help prevent fungal growth, a common issue in lenses stored in humid conditions.
Routine Checks
- Inspect the Lens: Regularly check for any dust, smudges, or signs of mold and address them immediately.
- Test Shots: Periodic test shots can help you identify any issues with image quality that may not be visible on the lens itself.
For a thorough guide on how to clean your camera lens properly, check out our article here.
Macro vs Micro Lenses
The terms “macro” and “micro” are often used interchangeably in the context of close-up photography, leading to quite a bit of confusion. Let’s set the record straight.
Macro Lenses
These are the lenses specifically designed for close-up photography. They allow you to get incredibly close to your subject and are measured by their ability to reproduce a subject at a 1:1 ratio on the sensor.
Micro Lenses
The term “micro” is essentially Nikon’s branding for their macro lenses. In essence, a Nikon Micro lens serves the same purpose as a macro lens from other manufacturers.
What’s in a Name?
So why the different names? It’s mostly marketing. Nikon chose to go with “Micro” to emphasize the lens’s ability to capture even the smallest details. Other manufacturers stuck with the term “macro” because it’s more universally understood to mean close-up photography.
The bottom line is, whether you’re looking at a macro lens or a micro lens, the primary consideration should be its capability for close-up photography, not the name it goes by.
Proper care and a solid understanding of what you’re actually buying are foundational to mastering macro photography. These are not just one-time actions but ongoing practices that can make your macro photography journey a long and rewarding one.
Final Thoughts
You’ve ventured deep into the world of macro photography, learning not just what a macro lens is, but also how to maximize its potential.
From understanding depth of field to mastering stabilization techniques, and from choosing the right brand to post-processing, you’re now equipped with a wealth of knowledge to kickstart or refine your macro photography journey.
Your next steps? Practice, practice, practice.
The more you shoot, the better you’ll get. Don’t forget to continually update your toolkit, both in terms of equipment and knowledge.
Keep an eye out for new lenses, accessories, and techniques that could further elevate your macro photography game.
Additional Resources
So, where can you go to dive even deeper into this captivating field? Luckily, there’s no shortage of resources to help you along the way.
Books
- “Understanding Close-Up Photography” by Bryan Peterson: This book offers a comprehensive guide to capturing stunning close-up shots.
- “Digital Macro & Close-up Photography: New Edition” by Ross Hoddinott: Recently updated, this book features some stunning imagery and provides expert tips to take your macro photos to the next level.
Courses
- Udemy’s “Macro Photography & Focus Stacking Made Easy“: This online course covers everything from the techniques and equipment (optical, lighting and support) needed to achieve sharply focused, well-exposed photographs of flowers, insects and much more.
- CreativeLive’s “Macro Photography: Insects and Plant Life”: This course offers advice on how to get close enough to capture insects, plants and water droplets.
And there you have it! So grab your camera, and let’s get capturing those tiny wonders that make our world so incredibly fascinating.


