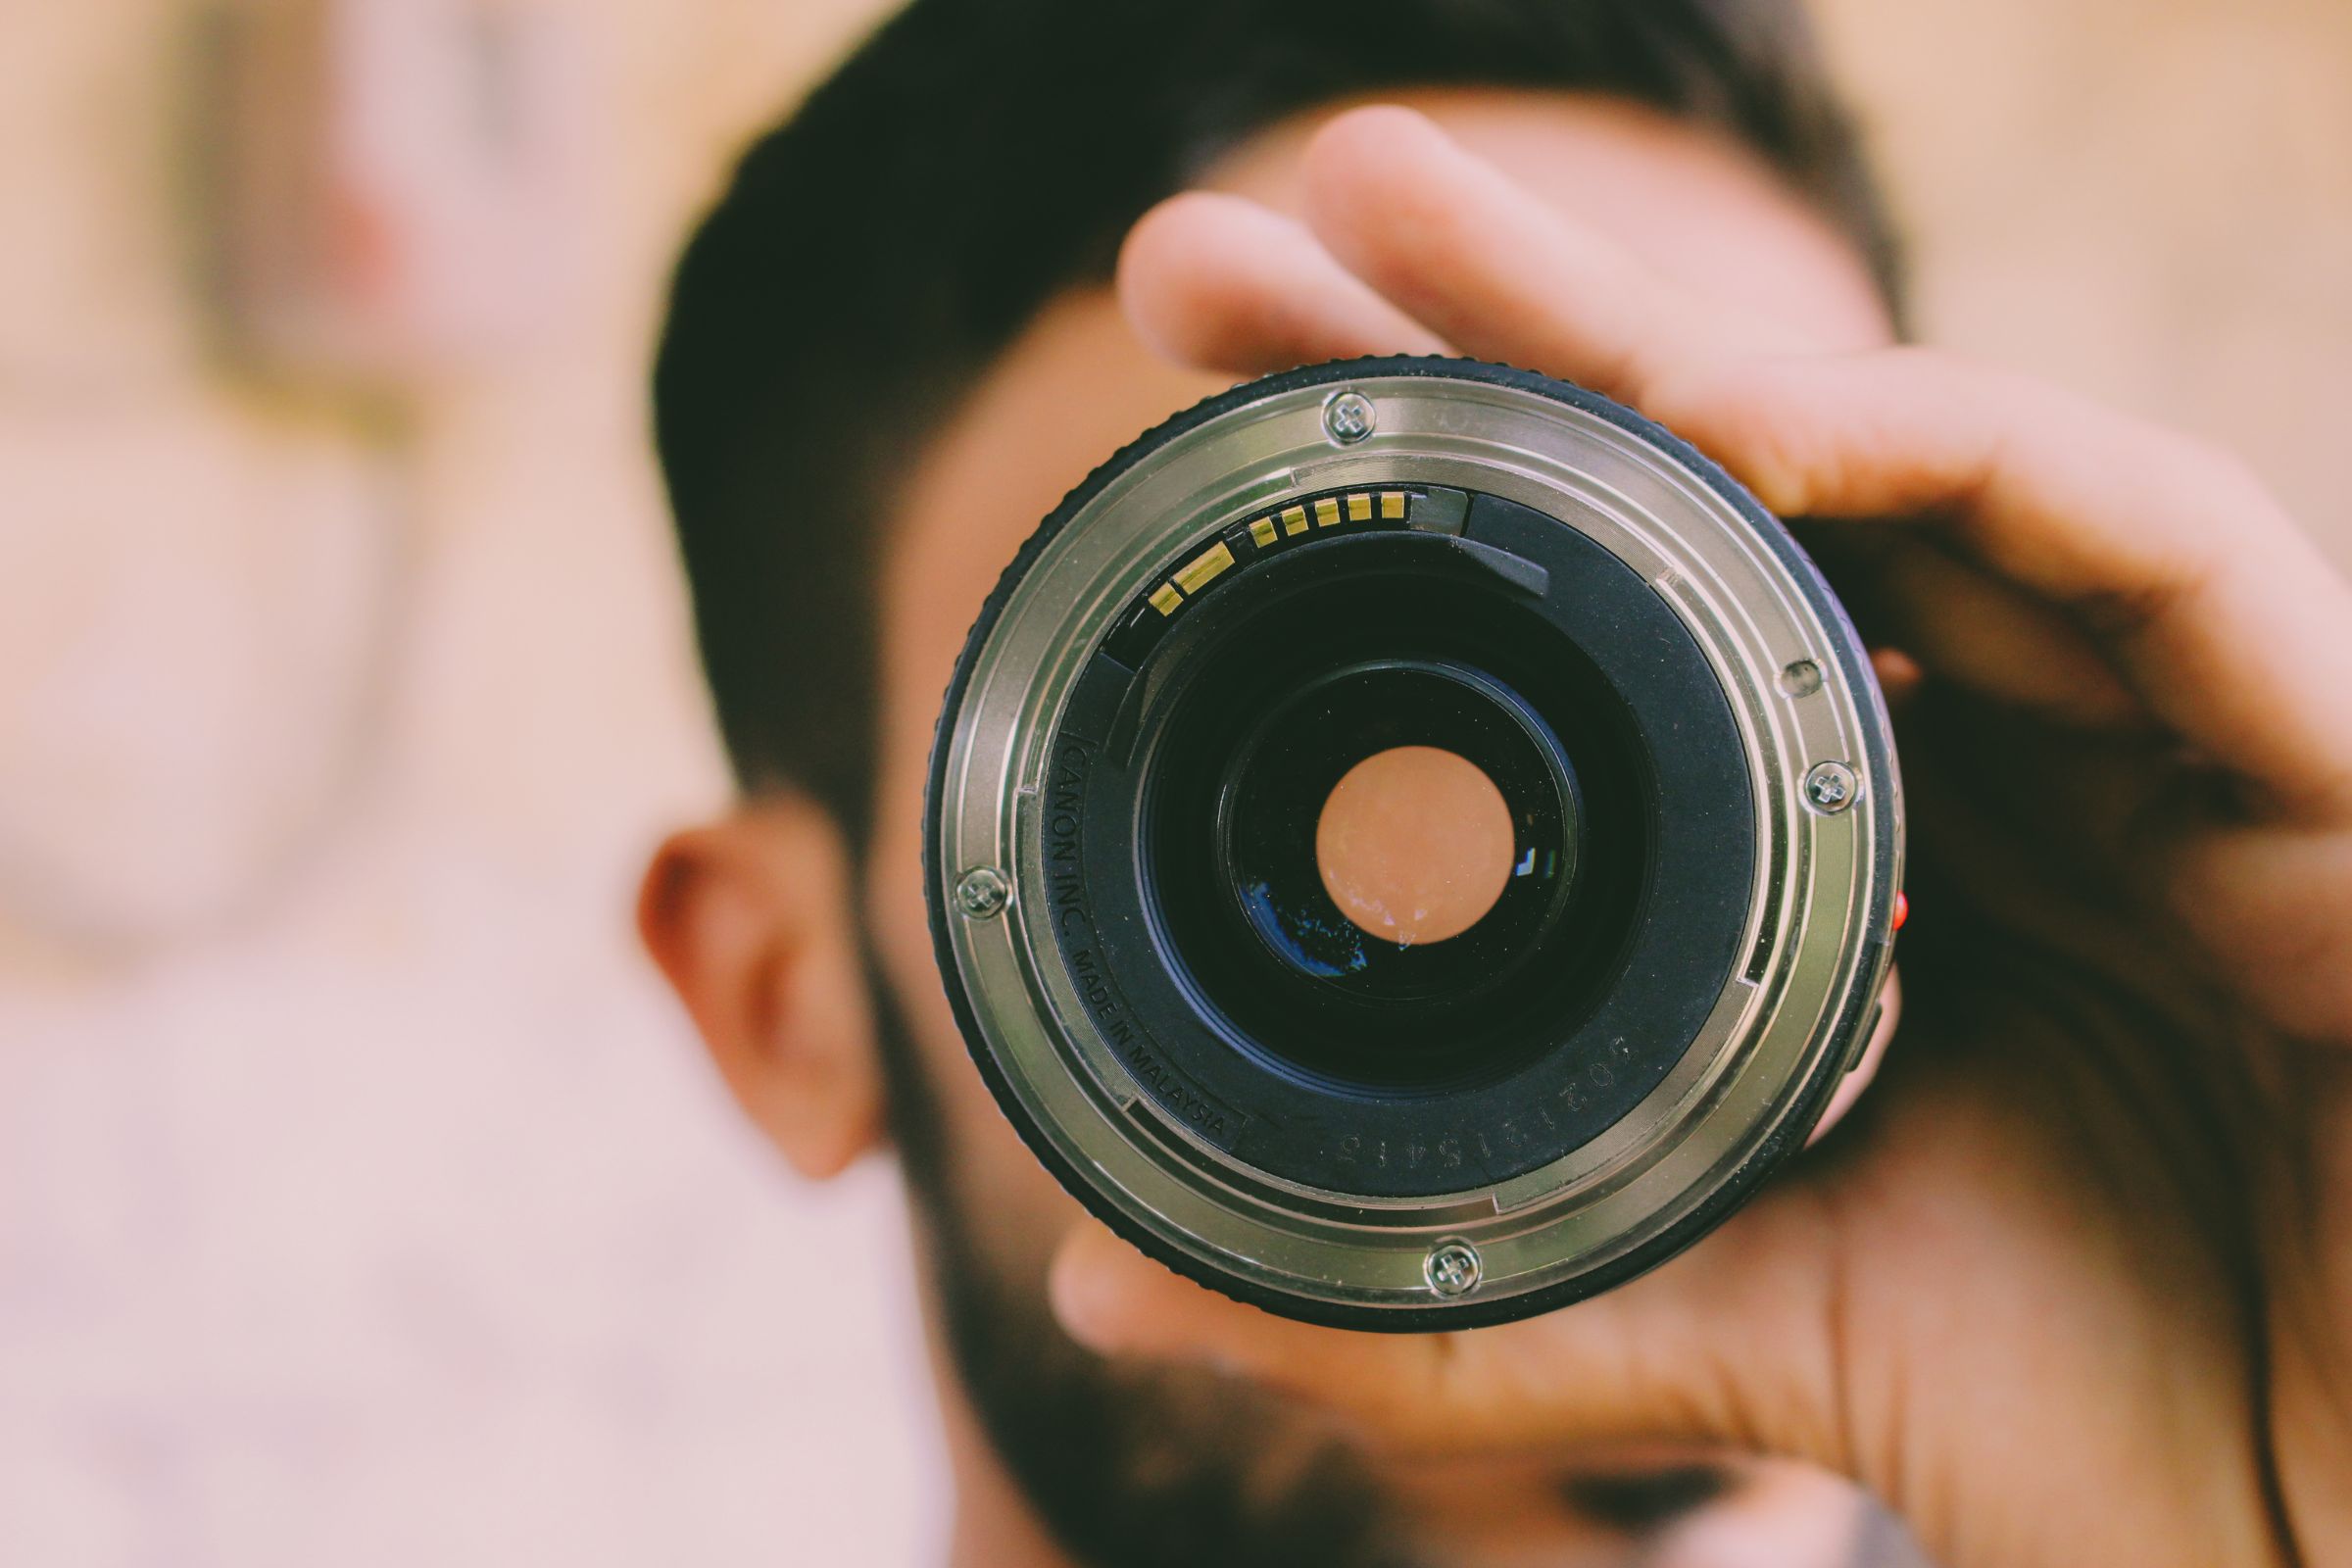
So, you’re wondering how to check camera lens quality. Well, you’ve come to the right place!
In a nutshell, you can determine lens quality by performing a series of tests that evaluate sharpness, focus, and aperture, as well as inspecting for physical flaws.
Stick around and you’ll learn:
- How to identify lens flaws before they ruin your shots.
- Ways to test zoom and focus mechanisms for optimal performance.
- Techniques to evaluate lens sharpness at different apertures and focal lengths.
- When to use specialized software for lens testing.
- Tips for maintaining your lens to ensure its longevity.
Before You Begin: Preparations for Lens Testing
Mental and Gear Prep
Before diving into the world of lens testing, it’s essential to get your head and your gear in the right place.
Mental Prep
- Patience: Lens testing can be time-consuming. Make sure you’re not in a rush.
- Detail-Oriented: Keep an eye out for tiny flaws; they could be significant.
Gear Prep
- Camera Body: Ensure it’s compatible with the lens you’re testing. If you’re not sure, check out our guide on universal camera lenses.
- Tripod: For accurate sharpness tests.
- Lighting: Natural or controlled, ensure it’s consistent.
How to Evaluate a New or Used Lens
Physical Inspection
Before you even mount the lens on your camera, give it a good once-over.
| Aspect | What to Look For | Possible Issues |
|---|---|---|
| Lens Elements | Scratches, cracks, or significant dust | Physical damage affects quality |
| Rubber Rings | Worn-out or loose rubber | Handling and durability issues |
| Aperture Blades | Smooth operation | Sticky aperture blades |
Do you see any scratches, cracks, or excessive dust? If so, you might want to consider using a lens protector.
Test for Sharpness
Sharpness is often the first thing photographers look for in a lens. Here’s how you can test it.
- Resolution Chart: If you’re a professional, this is the way to go.
- Real-World Images: Take shots of detailed subjects and examine them.
- Compare: Look at the center and edges for any blurring or distortion.
Regular Functionality Check
The next step is to test how well the lens functions when it’s mounted on a camera.
- Autofocus: Does it lock on quickly and accurately?
- Manual Focus: Is it smooth or does it hitch?
- Aperture: Does it open and close smoothly?
Understanding the aperture blade performance is crucial for ensuring your lens is in tip-top shape.
Advanced Tests for Common Lens Issues
You’ve done the basics, but what about the nitty-gritty details that could affect your image quality?
- Decentering: Check for uneven sharpness across the image.
- Chromatic Aberration: Look for color fringing in high-contrast areas.
- Lens Flare: Assess how the lens handles bright light sources.
For those keen on getting into the intricate details, using specialized software for lens testing can offer insights you can’t get otherwise.
Learn more about how camera lenses are made to understand why these issues may occur.
Identifying and Resolving Common Lens Issues
In this section, we’ll delve into the nitty-gritty of common lens issues that could affect your photography. If you’re in the market for a lens, especially a used one, it’s crucial to be aware of these problems.
Check out our guide on buying used camera lenses for more tips.
What is Decentering and How to Deal With It
Decentering is a lens flaw that happens when the optical elements inside your lens aren’t perfectly aligned.
This misalignment can make one side of your image less sharp than the other, affecting overall image quality.
- How to Spot: When you take a photo of a flat subject, like a wall, from a fixed distance, one side of the image may appear less sharp than the other.
- How to Resolve: Minor decentering may not be noticeable in everyday photography. However, severe decentering can significantly impact image quality and may require a professional repair.
Sticky Aperture Blades: What Are They and Why Do They Matter?
Aperture blades control the amount of light that passes through the lens.
Sticky aperture blades occur when these blades don’t move as freely as they should, affecting the exposure and depth of field in your images.
- How to Spot: If you shoot a sequence of photos at varying apertures and find inconsistent exposure levels, you might be dealing with sticky blades.
- How to Resolve: Some lenses just need a bit of ‘exercise’ to get the blades moving smoothly. If the issue persists, you’ll likely need a professional repair. For tips on lens care, read our guide on lens maintenance.
Dust and Debris Inside the Lens: A Sneaky Problem
Dust and debris inside the lens are common but often overlooked.
While a single speck of dust might not ruin a photo, a significant accumulation can.
- How to Spot: You may notice dust spots when you shoot with a narrow aperture like f/16 or f/22.
- How to Resolve: If it’s a significant issue, professional cleaning is the safest bet. To keep your lens in pristine condition, check out our tips on how to store your camera lenses properly.
Zoom, Focus, and Stabilization Mechanisms: The Mechanical Aspects
The mechanical elements in a lens like zoom, focus, and stabilization mechanisms play a vital role in how a lens performs. Over time, these can wear out or start to malfunction, affecting image quality.
Zoom and Focus
- How to Test: Zoom the lens in and out. It should move smoothly without any jerks. For focus, ensure it locks onto subjects at different distances reliably.
- Common Issues: Stiff zooming action or a focus mechanism that “hunts” (can’t lock focus) are red flags.
Image Stabilization: What It Is and Why It’s Important
Image stabilization helps reduce blurriness in photos taken at slow shutter speeds.
- How to Test: Take a few handheld shots at slower shutter speeds, once with stabilization on and once with it off.
- Common Issues: If you don’t notice a significant difference in sharpness, or see unnatural “jumps” in the frame, the stabilization feature might be malfunctioning.
Should You Get the Lens Repaired or Replaced?
If you’ve identified issues that you can’t easily fix yourself, you might wonder: is it time for a repair or a full lens replacement?
For more insights into this dilemma, check our guide on fixing a camera lens.
| Consideration | Repair | Replace |
|---|---|---|
| Cost | Varies, can be expensive | High |
| Time | Could take weeks | Instant solution |
| Warranty | May void existing | Comes with new warranty |
Long-Term Lens Care and Advanced Testing Methods
In this final section, we’ll take your lens knowledge a notch higher.
Now that you know the basics of checking your lens for issues, let’s talk about long-term care and some advanced methods you might want to explore as you become more experienced.
Long-Term Lens Care: Make It Last!
Proper care can not only extend the lifespan of your lens but also ensure its consistent performance. Here are some tips:
- Regular Cleaning: Gently clean your lens elements with a soft microfiber cloth.
- Storing Lenses: Always store lenses in a dry, dust-free environment.
- Lens Caps and Filters: Use lens caps when the lens is not in use.
- Regular Inspections: Periodically perform the checks described in this article to spot any potential issues early on.
The Science of Lens Testing: Software and Tools
For those interested in diving deeper into lens quality checks, there are specialized software and tools available.
These provide a more scientific approach to evaluating lens performance but are generally not required for most photographers.
- Imatest: A popular software used to analyze a range of lens quality aspects including sharpness, distortion, and chromatic aberration.
- Resolution Charts: These are professionally printed charts that help you assess lens sharpness and resolution.
Note: Using specialized software is generally overkill for most casual photographers but can be a valuable resource for professionals or enthusiasts.
To Upgrade or Not: Lens vs. Camera Body
Eventually, you’ll face the question of upgrading your photography gear.
Should you opt for a new lens or a camera body?
The answer largely depends on what limitations you’re facing. Check our article that debates the pros and cons of upgrading your camera body or lens.
FAQs
How Can You Evaluate a Camera Lens’ Quality?
To gauge the quality of a camera lens, you can conduct both physical and functional tests. Inspect the lens for physical damage and perform various shooting tests to check its performance.
What Are Signs of a Subpar Camera Lens?
Blurriness, chromatic aberration, and difficulty focusing are some signs of a bad lens. Performing regular tests helps identify these issues early on.
How Is the Performance of a Camera Assessed?
You can measure a camera’s performance by checking its resolution, speed, and how well it works in varying lighting conditions. Tests should be conducted in both automatic and manual modes.
How Do I Determine If My Lens Is Free of Debris?
To know if your lens is clean, visually inspect it for dust, smudges, and scratches. Using a soft microfiber cloth is recommended for cleaning.
What Makes a Camera High-Quality?
High-quality cameras typically offer better resolution, faster shooting speeds, and superior performance in various lighting conditions. Brand reputation and lens quality are also key indicators.
What Constitutes a Top-Tier Camera Lens?
High-quality lenses generally have greater sharpness, less distortion, and better low-light performance. They are often constructed from superior materials and offer smoother operations.
How Can I Identify If My Lens Requires Calibration?
If your photos are consistently out of focus or softer than they should be, it’s a sign that your lens may need calibration. Specialized software can assist with this process.
What Factors Can Deteriorate a Camera Lens?
Physical damage like scratches, exposure to extreme weather conditions, and internal dust can ruin a lens. Proper storage and handling are crucial for lens longevity.
Do Lenses Become Less Efficient Over Time?
While well-maintained lenses can last for years, they may show signs of wear and tear over time. Regular inspections and proper care can help in extending their lifespan.
Final Thoughts
Phew, that’s a lot to take in, right? But remember, the more you know about your lens, the better your photography will be.
Whether you’re looking to buy a new lens or just want to maximize the performance of your existing ones, this comprehensive guide should have you well-prepared.
To recap:
- Physical Checks: Look for signs of wear and tear or mechanical issues.
- Functional Testing: Check focus, aperture, and zoom features.
- Advanced Testing: Use software or resolution charts for a deep-dive into lens performance.
- Long-term Care: Regular cleaning and proper storage are your lens’s best friends.
By taking the time to thoroughly check your lens and understand its quirks and qualities, you can ensure that your photography stays sharp, vibrant, and stunning for years to come.
We hope this guide empowers you to make informed decisions and get the best out of your lenses.
Got more lens questions? Wondering what camera lens you should buy next? Feel free to explore our camera lens FAQ for additional insights.


