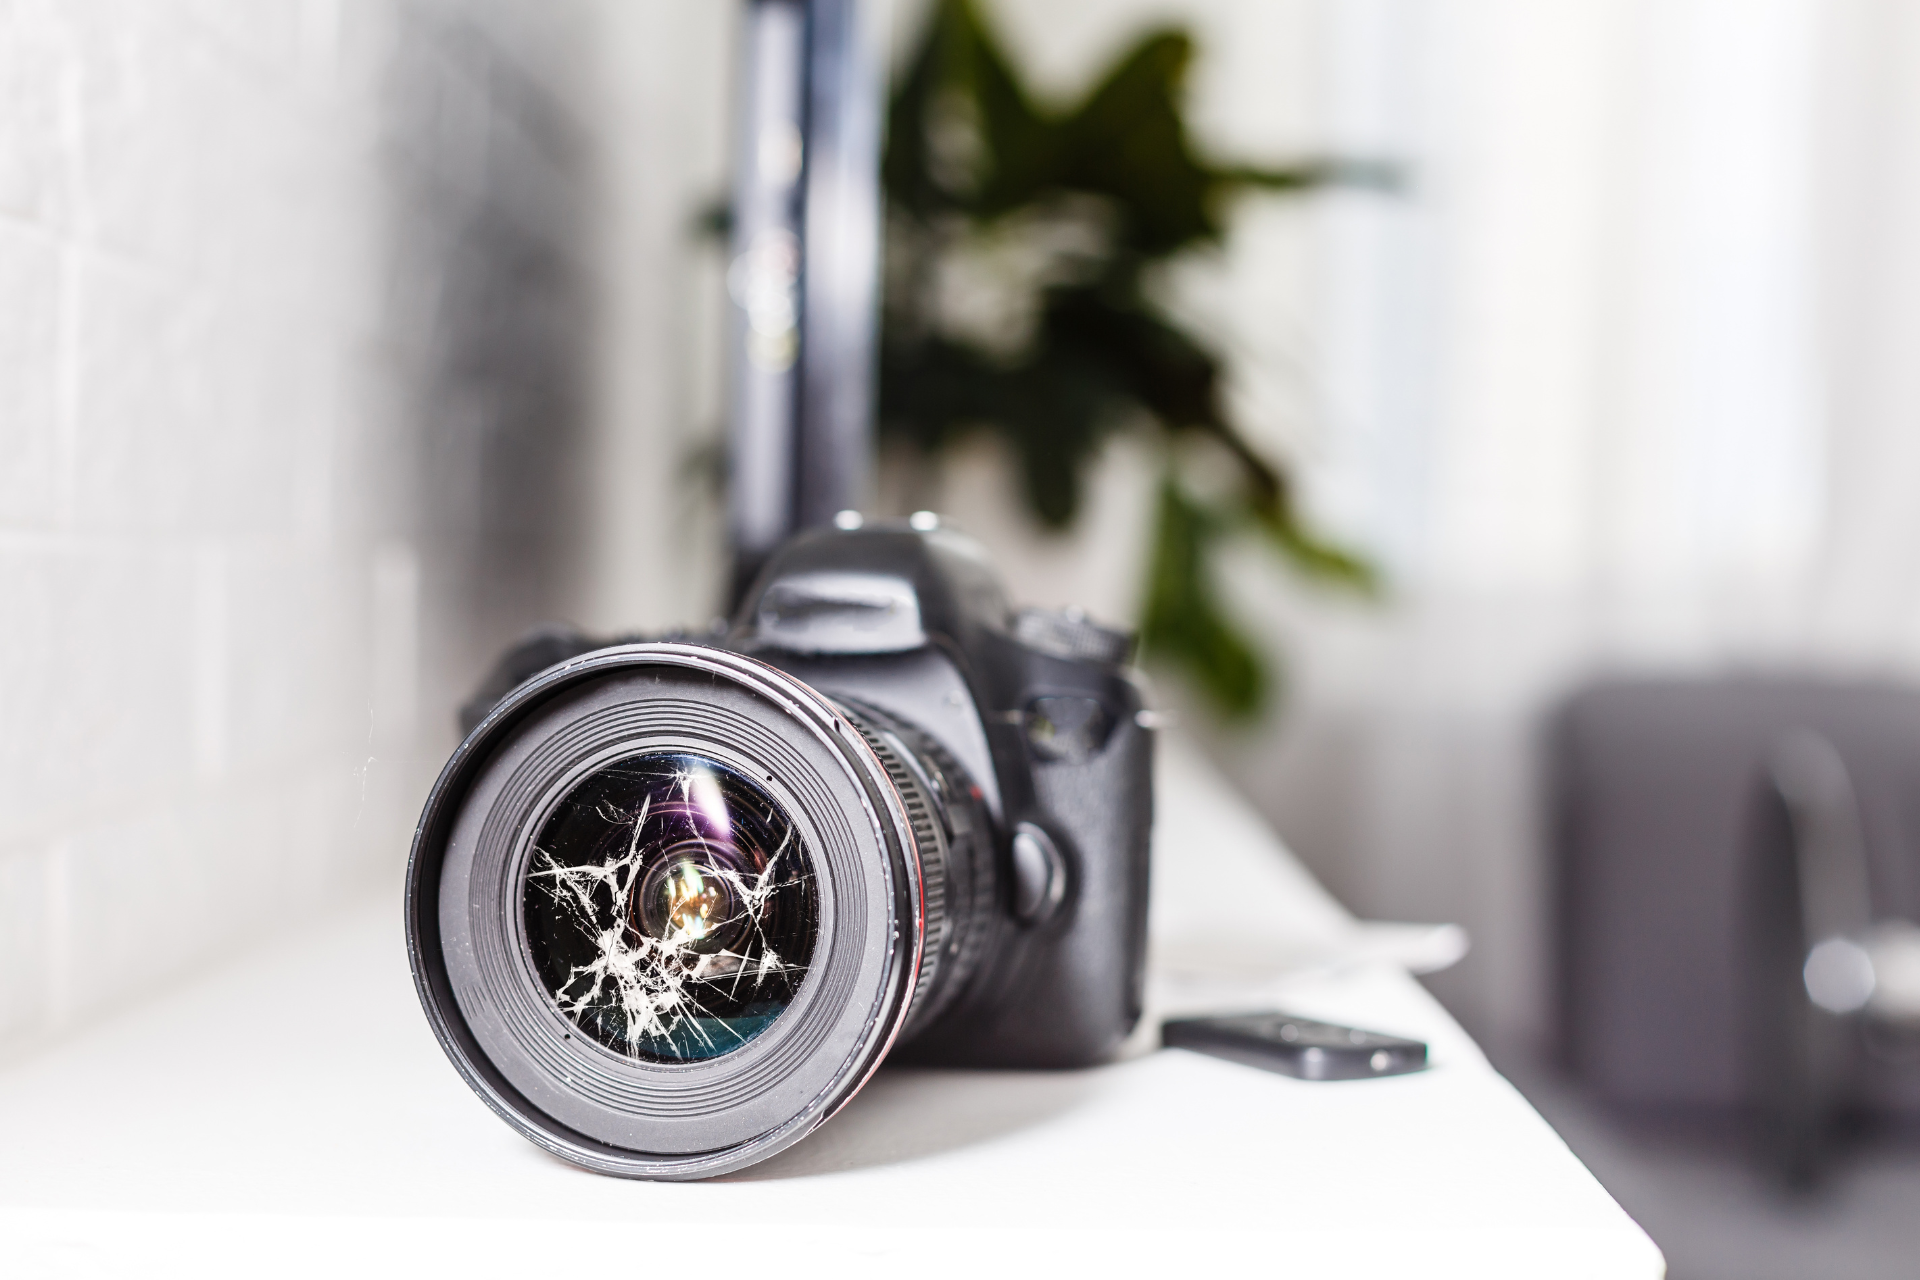
Can you fix a camera lens? Absolutely. The ability to restore a camera lens largely depends on the nature and extent of the damage.
However, before diving into lens repairs, it’s essential to recognize the significance of maintaining your camera lens’s health.
A lens, after all, is the eye of your camera, and any impairment can drastically impact the quality of your photography.
Maintaining lens health is more than just avoiding visible damage; it’s about ensuring the longevity and performance of one of your camera’s most vital components.
With this guide, not only will you learn about the intricacies of camera lenses, but you’ll also discover how to identify and possibly rectify common lens issues.
Understanding Camera Lenses: Anatomy & Basics
What Makes Up a Camera Lens?
At first glance, a camera lens might seem like a single piece of glass. However, it’s a complex amalgamation of multiple components, each playing a critical role in capturing that perfect shot.
- Lens Elements: These are individual glass or plastic pieces within the lens. Typically, a lens will contain multiple elements, each having its specific shape and role. For instance, some elements might correct color dispersion, while others determine focus.
- Lens Groups: Elements are often grouped together to perform a specific function within the lens. For example, in a zoom lens, some groups will move to enable zooming, while others remain stationary.
- Aperture: This is the opening in a lens through which light passes. By adjusting the size of the aperture, you control the amount of light entering the camera, affecting exposure and depth of field.
- Focus Ring: A manual control allowing photographers to adjust the focus.
- Zoom Ring: Found on zoom lenses, this ring lets photographers change the focal length and, therefore, the field of view.
Table: Key Components of a Camera Lens
| Component | Description |
|---|---|
| Lens Elements | Individual glass or plastic pieces that correct distortions and determine focus. |
| Lens Groups | Combinations of lens elements that work together. |
| Aperture | The adjustable opening controlling the light amount. |
| Focus Ring | Allows for manual focus adjustment. |
| Zoom Ring | Adjusts the lens’s focal length, changing the field of view. |
While many of us snap photos without thinking about the intricacies behind the lens, understanding these basics can greatly enhance our appreciation for photography and our ability to troubleshoot issues.
Identifying Lens Damage: Signs & Symptoms
While camera lenses are engineered to be resilient, they aren’t impervious to harm. Spotting damage early on can mean the difference between a simple repair and a costly replacement.
Common Indicators Your Camera Lens Might be Damaged
- Visible Scratches: These are often the easiest to spot. Even a minute scratch can cause noticeable flaws in your photos, especially when shooting in direct sunlight.
- Fogging or Condensation: If there’s moisture inside the lens, it can appear foggy. This typically happens due to sudden temperature changes or if the camera has been exposed to water.
- Loose Elements or Wobbling: If something feels loose or the lens wobbles, it might have internal damage or a misalignment.
- Autofocus Issues: Trouble focusing or the autofocus hunting without settling can be a sign of lens troubles.
- Unusual Noises: Grinding or clicking noises while focusing or zooming can indicate a mechanical issue.
Testing the Integrity of Your Lens
It’s always a good idea to periodically check your lens’s performance. Here’s how you can test for sharpness and image quality:
- The Newspaper Test: Place a newspaper flat against a wall. Take a photo of the newspaper from a reasonable distance, ensuring it’s evenly lit. Examine the photo on a computer; the text should be sharp, and there shouldn’t be any distortion or chromatic aberrations.
- The Starburst Test: Point your camera at a strong point of light, like a streetlamp at night. A healthy lens, when set to a small aperture, should produce a clean starburst effect around the light source.
- The Grid Test: Using a grid or patterned mat, photograph it head-on. Check for barrel or pincushion distortion in the resulting image.
Causes & Consequences of Lens Damage
Your camera lens is a masterpiece of precision engineering. However, various factors can still harm it.
Accidents Happen: What To Do When You Drop a Lens
We’ve all been there: that heart-stopping moment when our precious lens slips from our grasp. If you’ve dropped your lens:
- Inspect for Visible Damage: Look for cracks, scratches, or any broken parts.
- Check the Rings: Ensure both the focus and zoom rings turn smoothly without resistance.
- Test the Autofocus: On your camera, see if the autofocus is still accurate and responsive.
- Shoot Some Samples: Capture a few shots to check for any abnormalities in the images.
Remember, even if everything seems fine, internal damage might not be immediately obvious. It might be wise to consult a professional.
The Real Impact of Scratches and Surface Damage
While a tiny scratch might seem harmless, it can have substantial implications:
- Flare and Ghosting: Scratches can cause unwanted lens flares or ghosting, especially when shooting towards the light.
- Loss of Contrast: A damaged lens surface can scatter light in unwanted ways, leading to a washed-out look in your photos.
- Distortions: Deep scratches might even affect the path of light through the lens, causing noticeable distortions.
Handling your lens with care and using protective measures, like lens hoods and protectors, can help prevent these types of damages.
Tackling Specific Lens Issues: DIY Fixes & When to Seek Help
Whether you’re a seasoned professional or an amateur enthusiast, encountering lens issues can be daunting.
While some issues can be addressed with DIY solutions, others may require professional intervention. Here’s a breakdown of some common lens problems and potential solutions:
Addressing a Camera Lens That Won’t Open
A lens that refuses to open can be frustrating. Here are some steps to try:
- Battery Check: Sometimes, the issue can be as simple as a drained battery. Ensure your camera’s battery is fully charged.
- Gently Tap: Occasionally, minor obstructions or particles can jam the lens. Gently tap the side of the lens to dislodge any potential blockages.
- Manual Assist: Carefully try to assist the lens by twisting it gently (if it’s a twist-open lens).
- Clean Contacts: Dirt on the lens or camera contacts can prevent the lens from functioning. Use a clean, lint-free cloth to clean them.
If the above steps don’t work, it’s best to consult a professional rather than risk further damage.
Remedies for Camera Lens Scratches
A scratched lens can mar your images. Here are potential solutions:
- Lens Pencil: Available at most camera stores, a lens pencil has a soft tip designed to remove minor surface scratches.
- Toothpaste Method: Apply a small amount of toothpaste on a soft cloth and gently rub the scratch in a circular motion. Rinse with cool water and dry. This method is for very light scratches.
- Professional Polishing: For deeper scratches, it might be beneficial to have the lens professionally polished.
Remember, always test any method on a small section of the lens first to ensure it doesn’t cause further harm.
Preventing and Resolving Camera Lens Fogging
Fogging is common when transitioning between different temperatures:
- Use Silica Gel: Store your camera with silica gel packets to absorb moisture.
- Acclimate Your Gear: If moving from a cold to warm environment, keep your camera in its bag for a while to let it adjust to the temperature gradually.
- Anti-fog Solutions: These can be applied to the lens to prevent condensation.
Solutions for Malfunctioning Camera Lens Shutters
If your lens shutter isn’t working correctly:
- Check Camera Settings: Sometimes, settings like a slow shutter speed might be the cause of the perceived malfunction.
- Clean the Shutter: Use a blower to remove any dust or debris that might be affecting the shutter’s movement.
- Reset the Camera: Refer to your camera’s manual to reset it to its default settings.
Should the shutter issue persist, it’s crucial to get it checked by a professional.

The In-Depth Repair Process
When superficial DIY fixes don’t quite cut it, a more in-depth repair process may be required to restore your lens to its former glory.
Understanding what this entails can help photographers decide the best course of action.
Repairing the Front Element & Addressing Deep Scratches
For deep scratches that can’t be easily buffed out:
- Front Element Replacement: For many lenses, especially professional ones, the front element can be replaced. While this can be costly, it’s often cheaper than replacing the entire lens.
- Professional Polishing: Some scratches might be remedied with a professional-grade polishing process, using specialized tools and solutions.
- Protection Moving Forward: Once repaired, consider using high-quality protective filters to guard against future scratches.
Dealing with a Damaged Lens Mount
The lens mount is the critical point of connection between your camera and lens. Damage here can spell disaster:
- Assessment: First, determine if the mount is merely loose or if there’s physical damage.
- Tightening: Sometimes, screws can become loose. If you’re comfortable, these can be tightened with precision screwdrivers.
- Replacement: More severe damage may necessitate replacing the lens mount. While some experienced photographers might undertake this themselves, it’s often a job best left to the pros.
Handling Internal Dust, Moisture, and Condensation
Dust and moisture inside the lens can severely impact image quality:
- Cleaning Kits: There are specialized kits available that can help in removing internal dust.
- Drying Out: If moisture is the problem, placing the lens in an airtight container with silica gel can help draw out the moisture.
- Professional Cleaning: Stubborn dust or condensation might require a professional cleaning service, where the lens is disassembled, cleaned, and then reassembled.
Finding the Right Repair Service For Your Camera Lens
Your camera lens is an investment, and it’s crucial to ensure that any repairs are conducted with precision and care.
Who Repairs Camera Lenses?
When seeking out a repair service, you have several options:
- Local Camera Shops: Many local camera shops offer repair services. They’re convenient and often quicker than sending your lens away. However, ensure they have good reviews and a track record of lens repairs.
- Brand-Specific Service Centers: Brands like Canon, Nikon, and Sony have their own repair centers. These can be pricier, but you’re assured of brand expertise.
- Specialized Repair Services: There are companies specializing solely in camera repairs. They often have the expertise to handle more complex issues.
- Evaluating a Service: When deciding on a service, check reviews, ask about warranties on repairs, and inquire about the experience of the technicians.
Choosing the right repair service is critical. Your lens deserves the best care, ensuring it can continue to capture moments flawlessly for years to come.
Protecting Your Investment: Preventative Measures & Lens Care
It’s been rightly said, “Prevention is better than cure.” Your camera lens is a significant investment, both financially and in the context of the moments it helps you capture. By adopting some preventative measures, you can significantly extend the life of your lens and reduce the likelihood of issues cropping up.
Effective Camera Lens Storage & Handling Techniques
The way you store and handle your lens can make a world of difference in preserving its lifespan:
- Avoid Extreme Temperatures: Both extreme cold and heat can harm your lens. Avoid leaving your camera in a car on a hot day or exposed to freezing conditions.
- Use Padded Bags: When transporting your camera, use a padded bag or case. This provides shock absorption and minimizes the risk of damage from bumps and knocks.
- Store in a Dry Place: Moisture can be detrimental. Store your camera in a dry place, and consider using silica gel packets in your camera bag.
- Change Lenses Carefully: When switching lenses, do so in a dust-free environment, and avoid touching lens elements directly.
Cleaning Lenses Without Causing Damage
Keeping your lens clean is essential, but doing so carelessly can cause more harm than good. Here’s a guide on the proper tools and techniques:
| Tool/Material | Purpose | Usage Tips |
|---|---|---|
| Lens Cleaning Solution | Remove smudges and fingerprints. | Use sparingly. Avoid applying directly to the lens. |
| Microfiber Cloth | Wipe away dust and smudges. | Ensure the cloth is clean. Gentle, circular motions work best. |
| Lens Brush | Brush away loose particles. | Always brush from the center outward. |
| Blower | Blow away dust without touching the lens. | Don’t squeeze too hard. Keep the nozzle clean. |
| Lens Cleaning Pens | Dual-purpose tool for cleaning. | Use brush end first, then the cleaning tip. |
Using Protective Lens Gear and Accessories
Accessories can play a vital role in shielding your lens from potential harm:
- Lens Caps: Always replace the lens cap when the camera is not in use.
- UV or Protective Filters: These screw onto the front of your lens and provide a barrier against scratches, dust, and other environmental hazards.
- Lens Hoods: Apart from reducing lens flare, these can protect the front element of the lens from accidental knocks and scratches.
- Lens Cases: Especially when traveling or packing away gear, a dedicated lens case provides added protection.
Taking a little extra time to care for and protect your lens can result in a long and productive life for your photographic gear.
Deciding the Fate of Your Lens: Repair, Replace, or Retire?
One of the trickiest decisions a photographer can face is determining the next steps after a lens gets damaged.
Is it worth the repair costs? Would replacing it be more economical in the long run? Or perhaps it’s time to retire that particular lens and focus on newer equipment?
Let’s delve into these considerations.
Cost Considerations: Repair Costs vs. New Lens Purchase
Evaluating the cost-benefit ratio between repairing a damaged lens and buying a new one is crucial:
- Quote and Compare: Always get a repair quote before making a decision. Sometimes, the repair might be minor and affordable.
- Factor in Age and Model: Older lenses, while still functional, might lack modern features. If the repair cost is nearing the cost of a newer model, replacement could be a better option.
- Warranty Coverage: Check if your lens is still under warranty. Some damages might be covered, significantly reducing repair costs.
- Think of the Future: If you foresee future issues due to the lens’s age or wear and tear, investing in a new lens might be a smarter long-term decision.
Lifespan Expectations for Camera Lenses
While camera lenses don’t have an “expiration date,” understanding their typical lifespan can aid your decision:
- Average Lifespan: Most well-maintained camera lenses can last between 10 to 20 years. Of course, the frequency of use and care level can extend or shorten this.
- Technological Advancements: As technology advances, newer lens models offer better features, coatings, and optical designs. It might be worth upgrading if your lens is nearing the end of its life and newer models provide significantly better performance.
- Emotional Value: Sometimes, a lens has sentimental value. Perhaps it was used for a special project or gifted by a loved one. In such cases, even if the lens is older, you might choose to repair rather than replace.
FAQs
How much does it cost to fix the glass on a camera lens?
The cost can vary based on the lens make and model, but typically, replacing the glass can range from $100 to several hundred dollars. Always check with specific repair services for accurate estimates.
How can I fix my broken camera lens?
Fixing a broken lens can be complex. For minor issues, DIY solutions may work, but for significant damages or internal problems, it’s advisable to consult a professional camera repair service.
Can you replace just the glass in a camera lens?
Yes, it’s possible to replace only the glass in many camera lenses. However, the feasibility and cost-effectiveness depend on the extent of the damage and the specific lens model.
What does a damaged camera lens look like?
A damaged lens may exhibit visible scratches, dents, or cracks. Image issues like blurriness, spots, or uneven focus can also indicate internal lens damage.
Can a faulty lens damage the camera?
Yes, in some cases, a faulty lens can harm the camera, especially if there’s an issue with the lens’s electronic connections or if debris from the lens enters the camera body.
Concluding Thoughts & Recommendations
Camera lenses, with their intricate designs and precision engineering, are both delicate and durable.
While damage is often a photographer’s worst nightmare, it’s reassuring to know that many issues are repairable.
The key lies in preventative care, timely maintenance, and making well-informed decisions about repairs versus replacements.
If you’re ever in doubt, consult with professionals. Weigh the costs, consider the lens’s emotional and practical value, and think about your future photography needs.


![Read more about the article How to Store Camera Lenses Properly for Longevity and Performance [2023]](https://photographyexplorer.com/wp-content/uploads/2023/08/How-to-Store-Camera-Lenses-Properly-300x200.jpg)
Pingback: Can You Fix a Scratched Camera Lens? - Photography Explorer